

I made this 3d cake for Great Grandma Mary Lou. Of course, she loves Pooh.

I had so much fun baking this cake, that I had to blog. Yes, it's true, I'm still baking but I kind of fell off the blogging bandwagon. So, here it is a new year and a fun new cake! I hope you enjoy it!
I made the Basic Golden Cake from Tish Boyle's Cake Book. My all time favorite vanilla cake. I used a Peppermint Buttercream frosting to decorate the Pooh Bear. I could have made a pound cake but because I make my cakes from scratch they are little denser than box mixes. I would not recommend using a box mix for this cake.
I made the Basic Golden Cake from Tish Boyle's Cake Book. My all time favorite vanilla cake. I used a Peppermint Buttercream frosting to decorate the Pooh Bear. I could have made a pound cake but because I make my cakes from scratch they are little denser than box mixes. I would not recommend using a box mix for this cake.

I had quite the time trying to figure out this 3d cake pan! This is my first 3d cake pan and I have to say I'm very happy with the results despite all the complications I ran into.
My local library has cake pans for lending. Pretty cool, huh? Well, I went online and reserved this pan but I had no idea what I was getting into! They didn't have a picture or description other than Pooh Bear Cake Pan. When I went to pick it up, to my surprise, it was a two piece pan. No instructions, no clips, and no heating core! I took it home so I could figure it out. I got online at Wilton and found the instructions. Then I went to Amazon and found the clips and a heating core. Yay! I didn't mind ordering them because I'm sure I'll use them again. My 8 clips arrived the day I wanted to bake the cake. Perfect timing! My back up plan was to use metal bullnose clips.

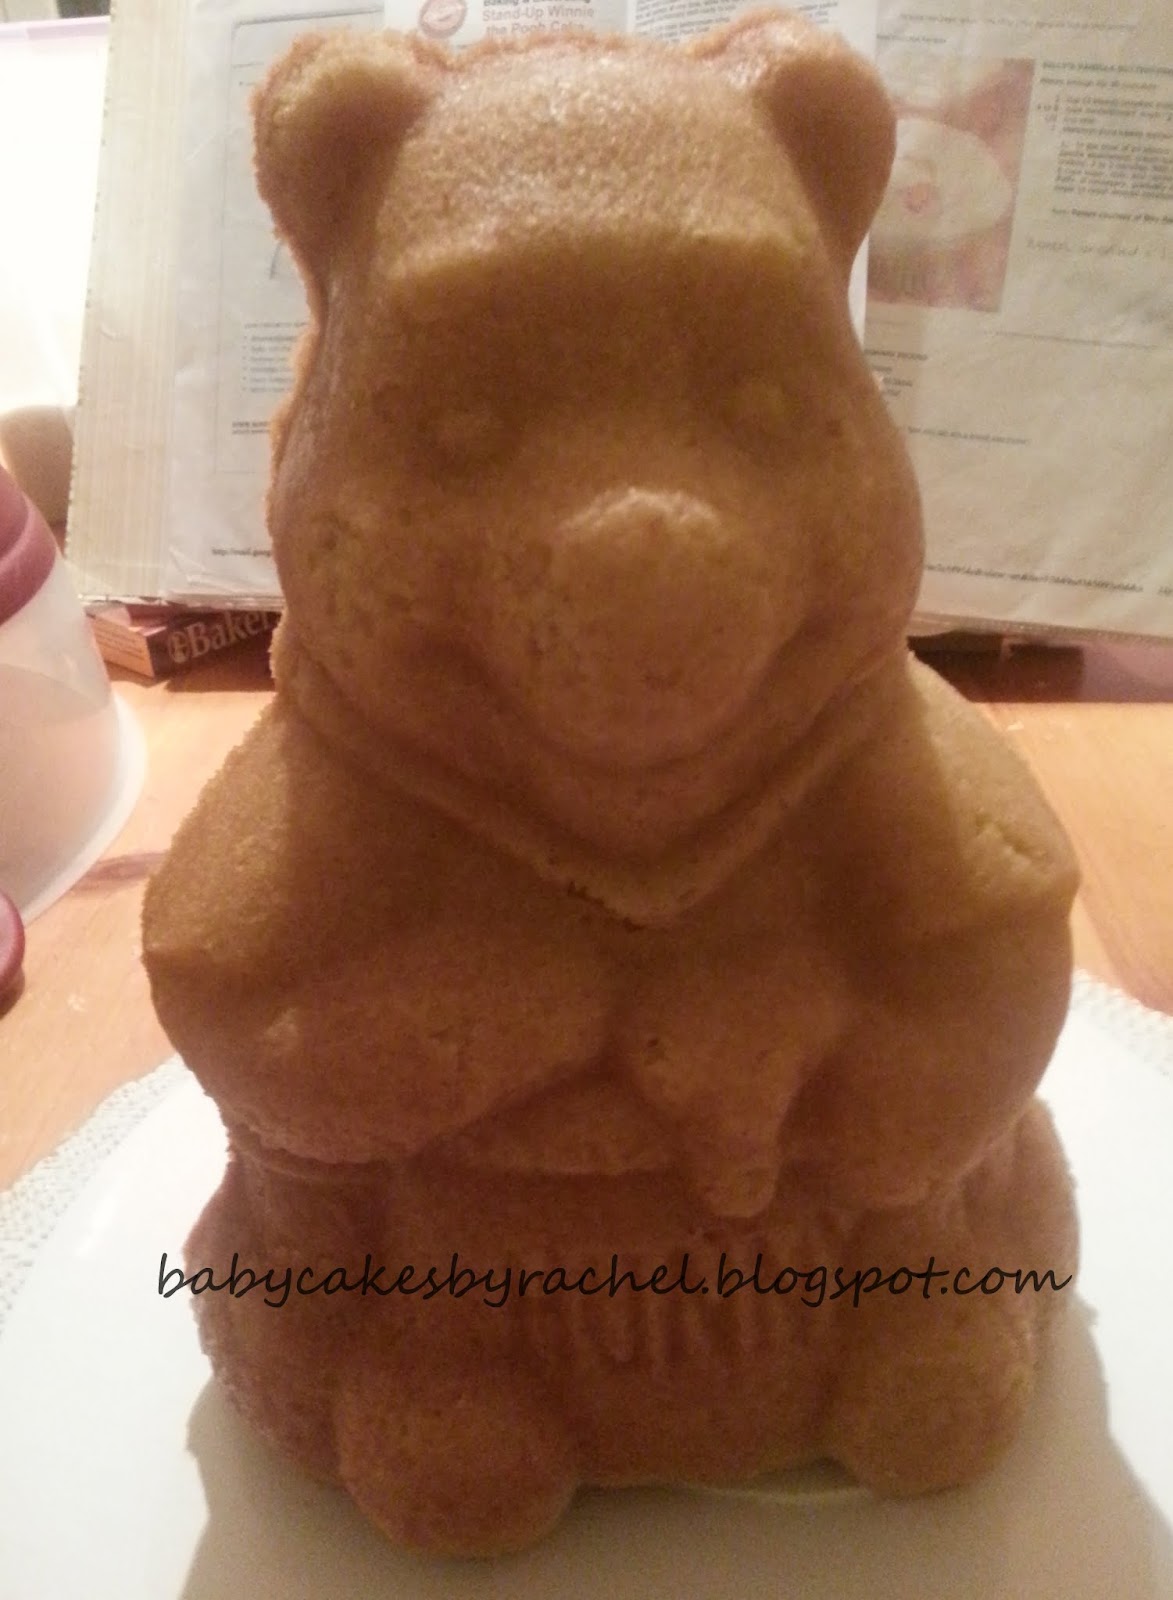
Here is my freshly baked upside down Pooh Bear cake! I cooked it for 50 minutes. I learned that when you bake a 3d cake you will want to overfill the cake pan because you need enough batter to fill out the entire shape of the cake. I used a cookie sheet to catch the overflow. Even though it looks like a mess, the clean up is pretty easy. I just soaked the pans in hot soapy water and the cake came right off.
You can see the heating core at the bottom of the cake (above). I put cake batter in it (after I greased and floured it) to hold it down in the batter and I used aluminum foil strips to keep it in place while baking. Some people recommend removing this core after cooking but others say not to. I decided I wanted to leave it in so it could help stabilize the cake. Since I was actually going to the party, I knew I could retrieve it after we cut the cake.
You can see the heating core at the bottom of the cake (above). I put cake batter in it (after I greased and floured it) to hold it down in the batter and I used aluminum foil strips to keep it in place while baking. Some people recommend removing this core after cooking but others say not to. I decided I wanted to leave it in so it could help stabilize the cake. Since I was actually going to the party, I knew I could retrieve it after we cut the cake.

The cake cooled for 10 minutes, then I carefully pried the two pans apart with my spatula, and lifted the back pan off. I let it sit for 5 minutes. Next, I covered the back side of the cake with a piece of plastic wrap, replaced the cake pan on the cake, and flipped it over.
I was very happy about how clean the pan came off. Before baking, I brushed organic shorting (palm oil) on every crevice, and dusted it with flour. There were a couple of spots I missed and had to go back and touch up. It was worth the effort.

I removed the front cake pan and left it on the cooling rack all night (Wilton recommends 5 hours).

I outlined the cake in brown and then started piping on the fur. My sweet girl got a chance to pipe a few stars on the back side. She did such a great job!! She is going to be a baker like her Momma.

Pooh Bear all dressed up and ready for the party!
